High-Quality Natural Wood Panels Manufacturers and Suppliers In China. We product: Wood Acoustic Panels PET Panels
Avoid your inquiry is delay response, please enter your WhatsApp/Skype along with the message, so we can contact you at the very first time.
We will reply you within 24 hours. If for urgent case, please add WhatsApp/WeChat: +86-13678899682 directly.
Most acoustic panel installs fail not from bad panels but from picking the wrong mounting method for the substrate. Screws work on studs and solid substrates; hanger hardware works with groove-cut panel systems and allows removal without wall damage. This guide covers both methods, the tools each needs, substrate prep, and where each approach breaks down.
Before anyone picks up a drill, the mounting method needs to be settled — and it depends on three things: whether the panels need to come down again, what’s behind the wall, and whether the panel system has pre-cut hanger grooves at all. Not every acoustic panel line ships with hanger compatibility built in, so this decision usually happens at the ordering stage, not on site.
| Factor | Direct Screw-Mount | Hanger-Mount |
|---|---|---|
| Wall Penetration | Visible screw holes through the panel face or edge | Screws sit behind the panel and remain hidden from view |
| Removability | Panel is effectively permanent once fastened | Panel lifts off the bracket while the hardware remains on the wall |
| Substrate Requirement | Requires a stud, blocking, or rated anchor | Requires the same suitable substrate; the hanger changes the attachment method but does not reduce the load |
| Tooling | Drill, screws, level, and stud finder | Drill, screws, level, stud finder, plus the hanger’s screw, nut, bracket, and wrench set |
| Compatibility | Works with most flat-back panels | Only works reliably with compatible panels; verify compatibility before ordering the panel and hanger separately |
| Typical Use Case | Fixed installations, low-traffic areas, and permanent fit-outs | Recording studios, showrooms, reconfigurable offices, and rental spaces |
If a job is going into a leased commercial space or a room that gets reconfigured every year or two, hanger-mount is worth the extra hardware line item. If it’s a permanent build-out, direct screw-mount is simpler and has fewer failure points.
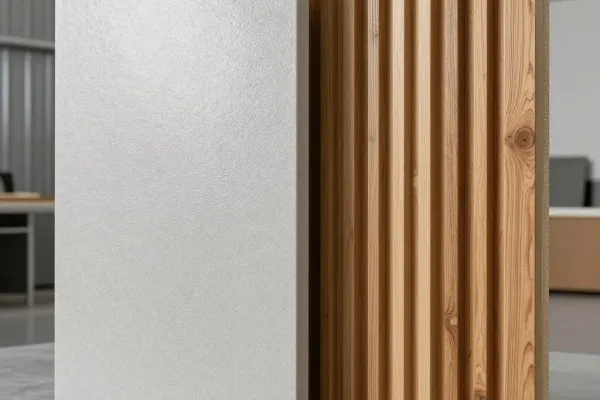
BEIEN’s acoustic panel hanger hardware is sold in three configurations — Single, Vertical, and Horizontal — matched to how the panel needs to sit on the wall. Each hanger package publicly lists one screw, one nut, one bracket, and one wrench per unit. Compatibility is stated as guaranteed only with BEIEN wood acoustic panels; the manufacturer does not extend that guarantee to third-party panels, so mixing hardware brands is a compatibility risk rather than a settled option.
One gap worth flagging before ordering: BEIEN’s published materials don’t include a load-capacity rating or a dimension table for the hangers. If a job involves unusually heavy panels, oversized formats, or a substrate that’s already marginal, confirm load capacity with the supplier directly before specifying hanger-mount for that run — don’t assume a number that hasn’t been published.
For tenant fit-outs and leased spaces, reversibility usually matters more than aesthetics. Hanger-mount leaves the wall with bracket holes rather than panel-shaped screw patterns, and the panels themselves come off intact for reuse elsewhere. Direct screw-mount doesn’t offer that; removing a screwed panel usually means patching the wall and, depending on the panel, damaging the fastening points on the panel back. Contractors bidding jobs where the client has flagged a future reconfiguration should price hanger-mount hardware into the estimate up front rather than treating it as an add-on.
Pricing for BEIEN panels and hanger hardware is quotation-based and depends on panel type, dimensions, thickness, surface finish, fire-performance requirements, customization level, packaging, order quantity, and shipping terms — there isn’t a published flat rate to quote here, so build in time for a formal quote before locking a bid. Standard production lead time is stated as approximately 7–15 working days depending on order quantity and customization, and minimum order quantity varies by product family, so confirm both against the specific panel and hardware combination before committing to a install date with the client.
BEIEN states that hanger compatibility is guaranteed only with its own wood acoustic panels. Using the hardware with a different brand’s panel is a compatibility risk the manufacturer doesn’t cover, so it should be tested on a sample piece before it’s specified for a full job.
A rated wall anchor (like a toggle bolt) can carry lighter panels on hollow drywall, but hitting a stud or adding blocking is the more reliable option for larger or heavier panel runs. The specific load capacity should come from the anchor manufacturer’s rating, not a guess.
That depends on wall area, substrate type, and whether it’s screw-mount or hanger-mount — hanger-mount adds bracket-setting time up front but speeds up if panels need to be removed and reinstalled later. There’s no single published install-time figure to cite here; it’s a per-job estimate.
No. The EN 13501-1:2018 B-s2,d0 result referenced above applies to the specific tested sample and thickness. A different thickness, color, or surface treatment needs its own documentation.

 English
  French
  German
  Italian
  Spanish
  Arabic
  Russian
  Dutch
Dutch